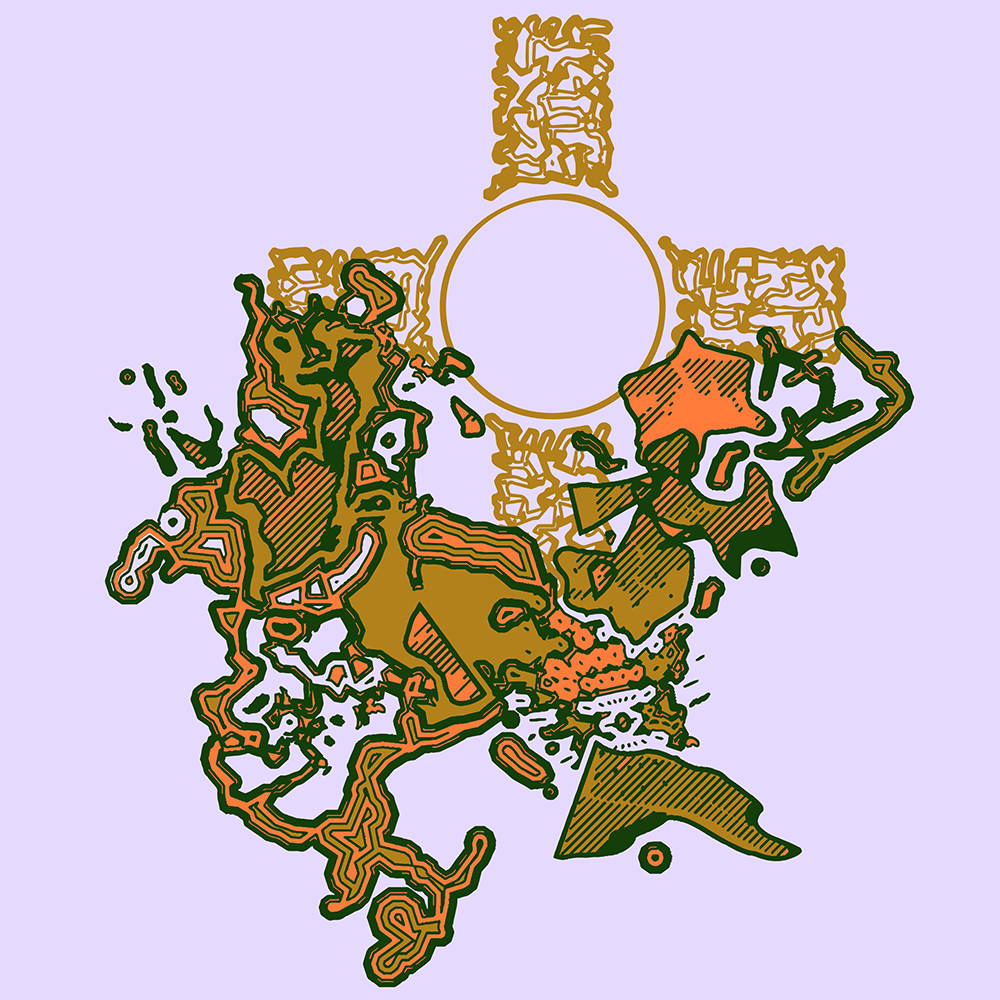
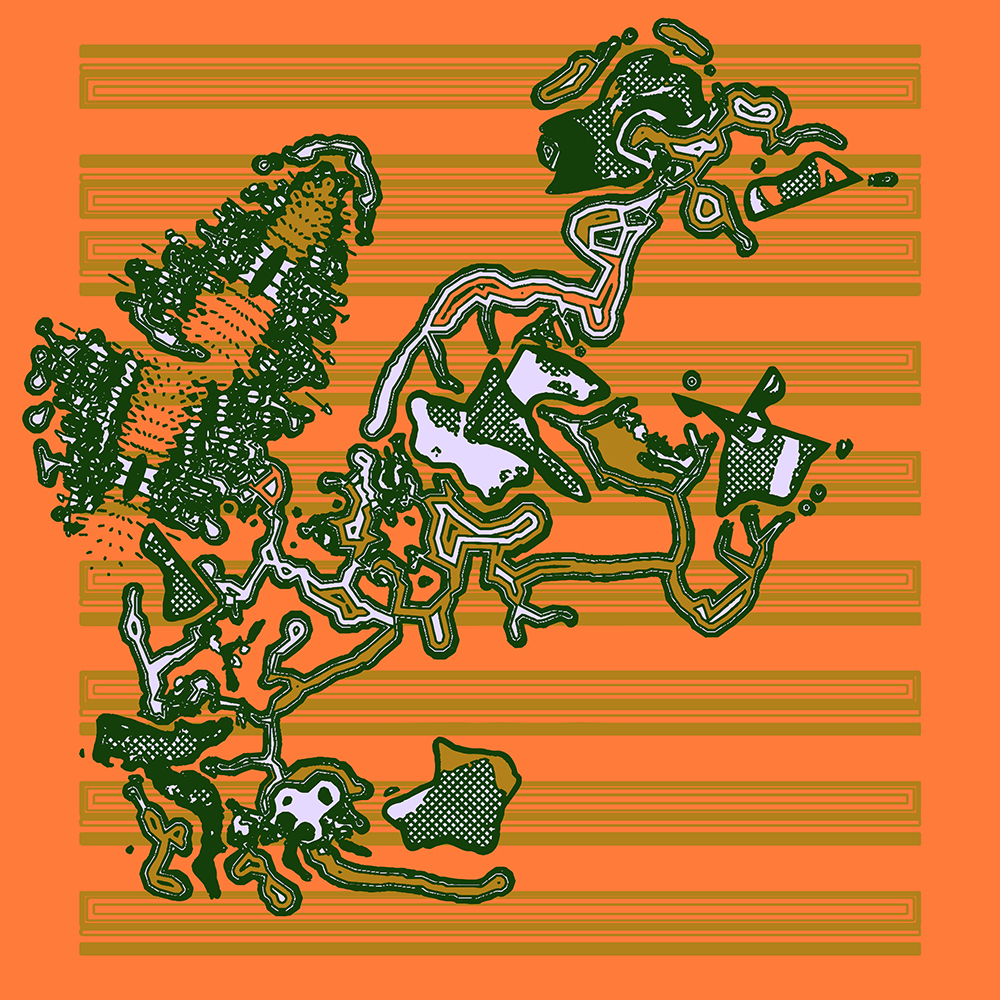
Slicing is an integral part of consumer 3D printing. Before printing, digital 3D objects must be processed into layered CNC instructions (G-codes) in specialised software called slicers. While typically regarded as a preparatory step, it can also be framed as an act of “illustrative” mark-making, through translating three-dimensional forms into two-dimensional slices of patterns and graphics. The slicing of a three-dimensional object yields two-dimensional cross-sectional layers; each manifests as an image when isolated from the stack, and removed from its original context (Fig. 1.). This process is known as tomography (derived from Greek tomos, meaning “slice, section” and graphe, meaning “writing”), primarily an imaging technology adopted by medical fields.
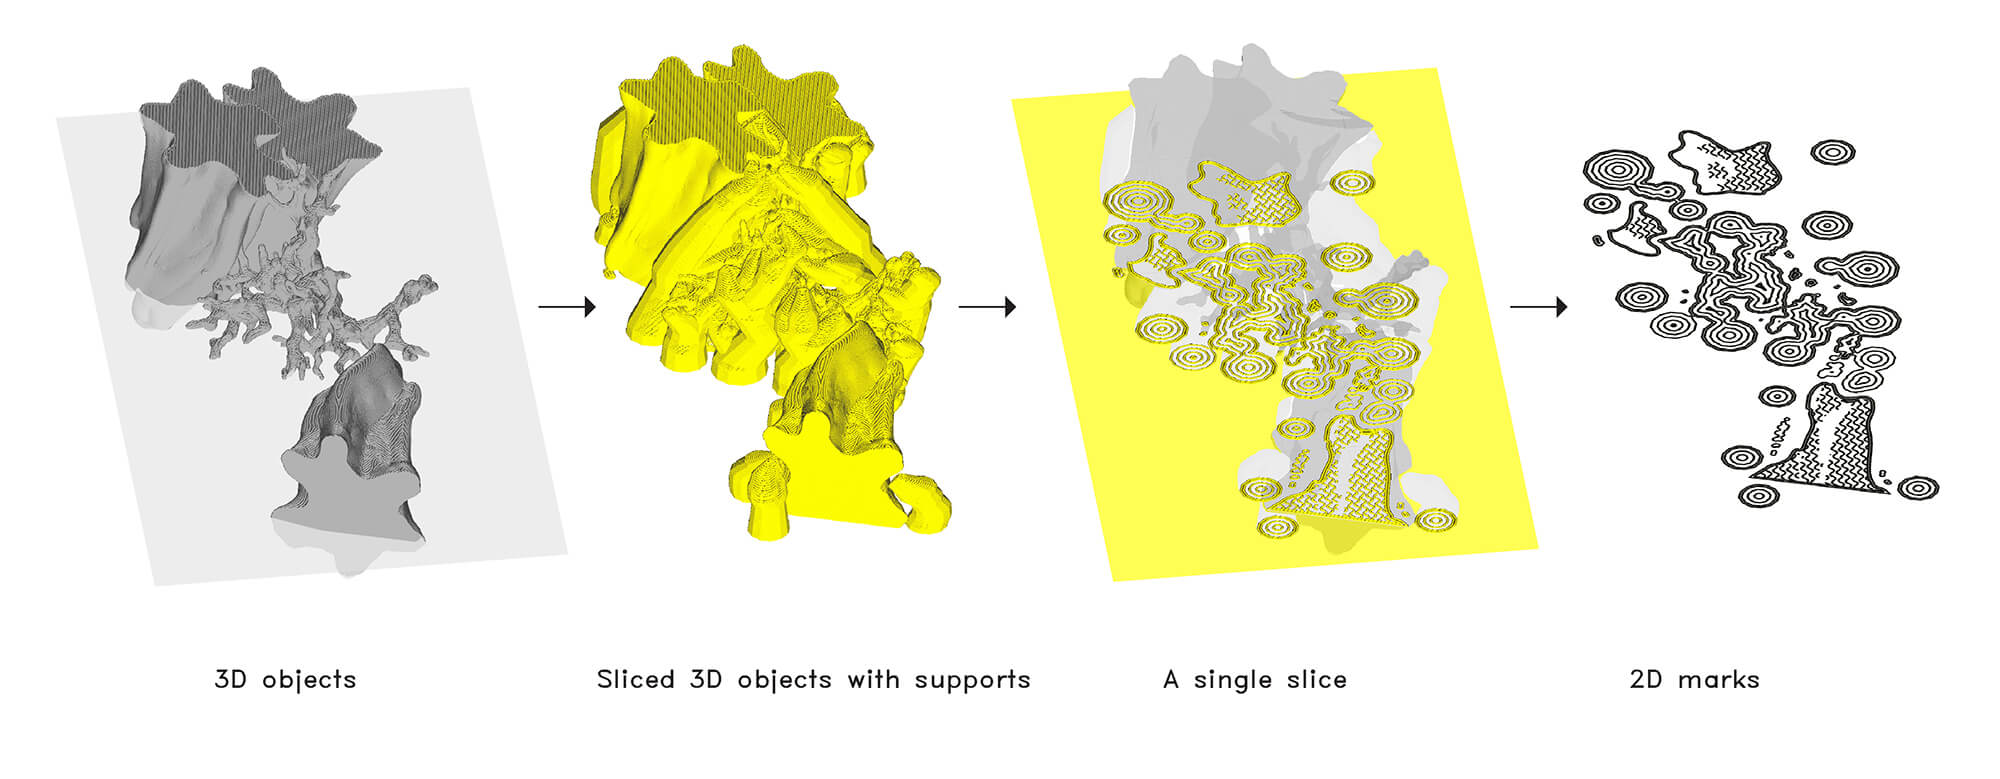
Fig. 1. Step-by-step process of deriving abstract, illustrative graphics from the slicer software.
To create lines and patterns at a two-dimensional position, one must manipulate the position, rotation, and other parameters of 3D objects within the three-dimensional space, navigating their physical logic in relation to the print bed surface. The software then generates necessary support structures in anticipation of printing challenges. Sliced graphics are produced as layers for print only after the software initiates the “slice” function; their generation is neither real-time nor responsive to direct two-dimensional manipulation, in stark contrast to the control graphic designers have in modern design software.
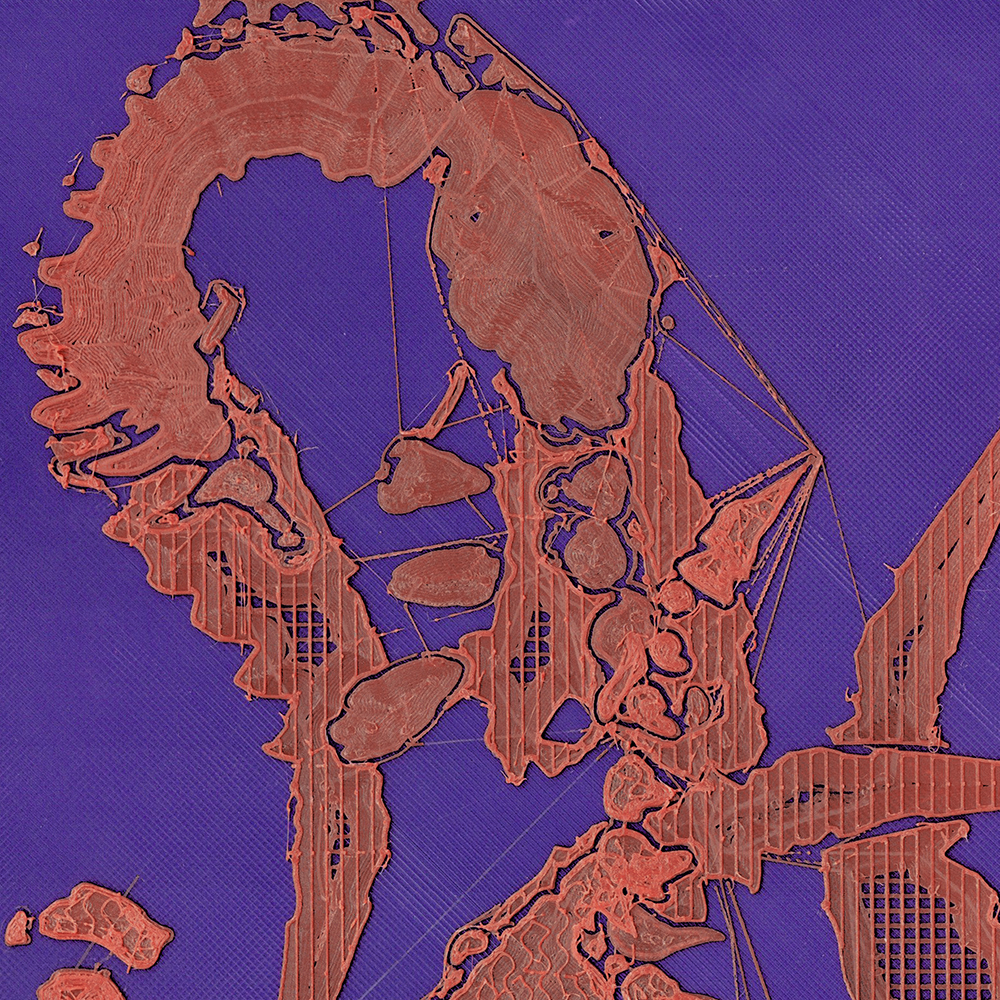
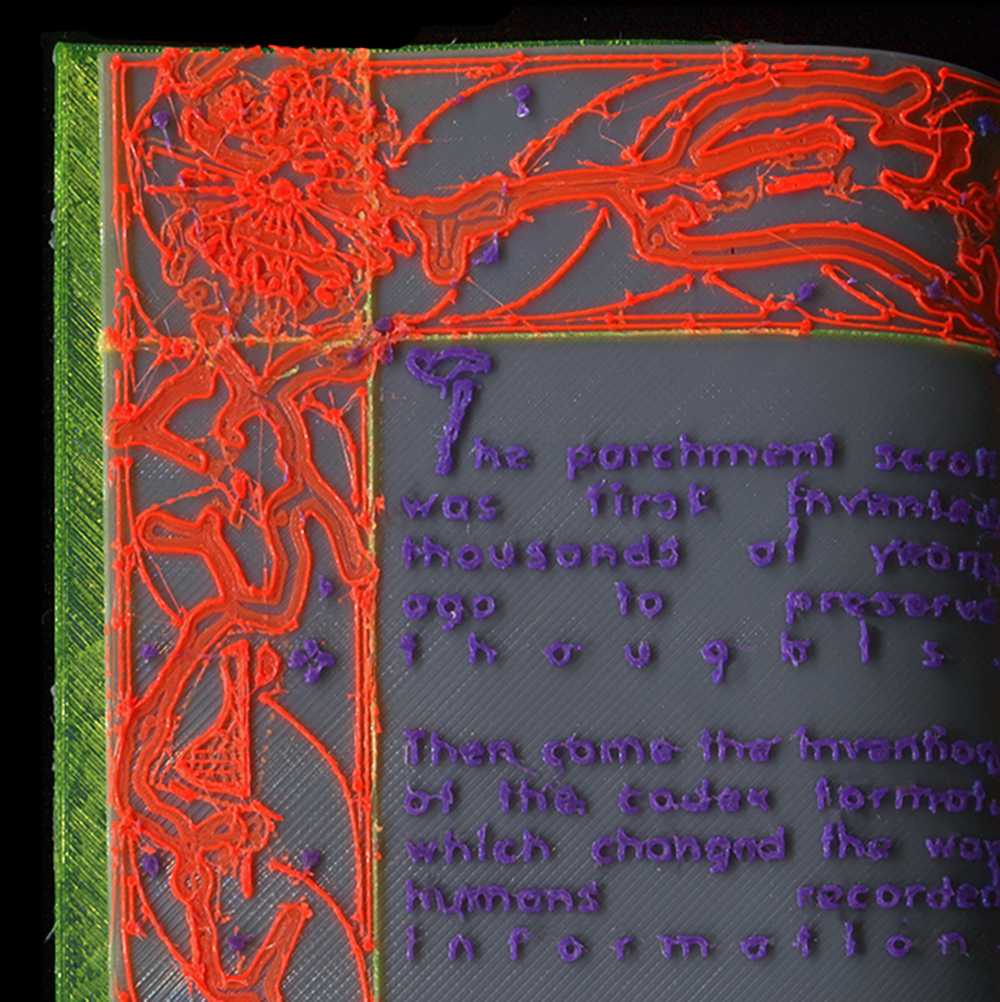
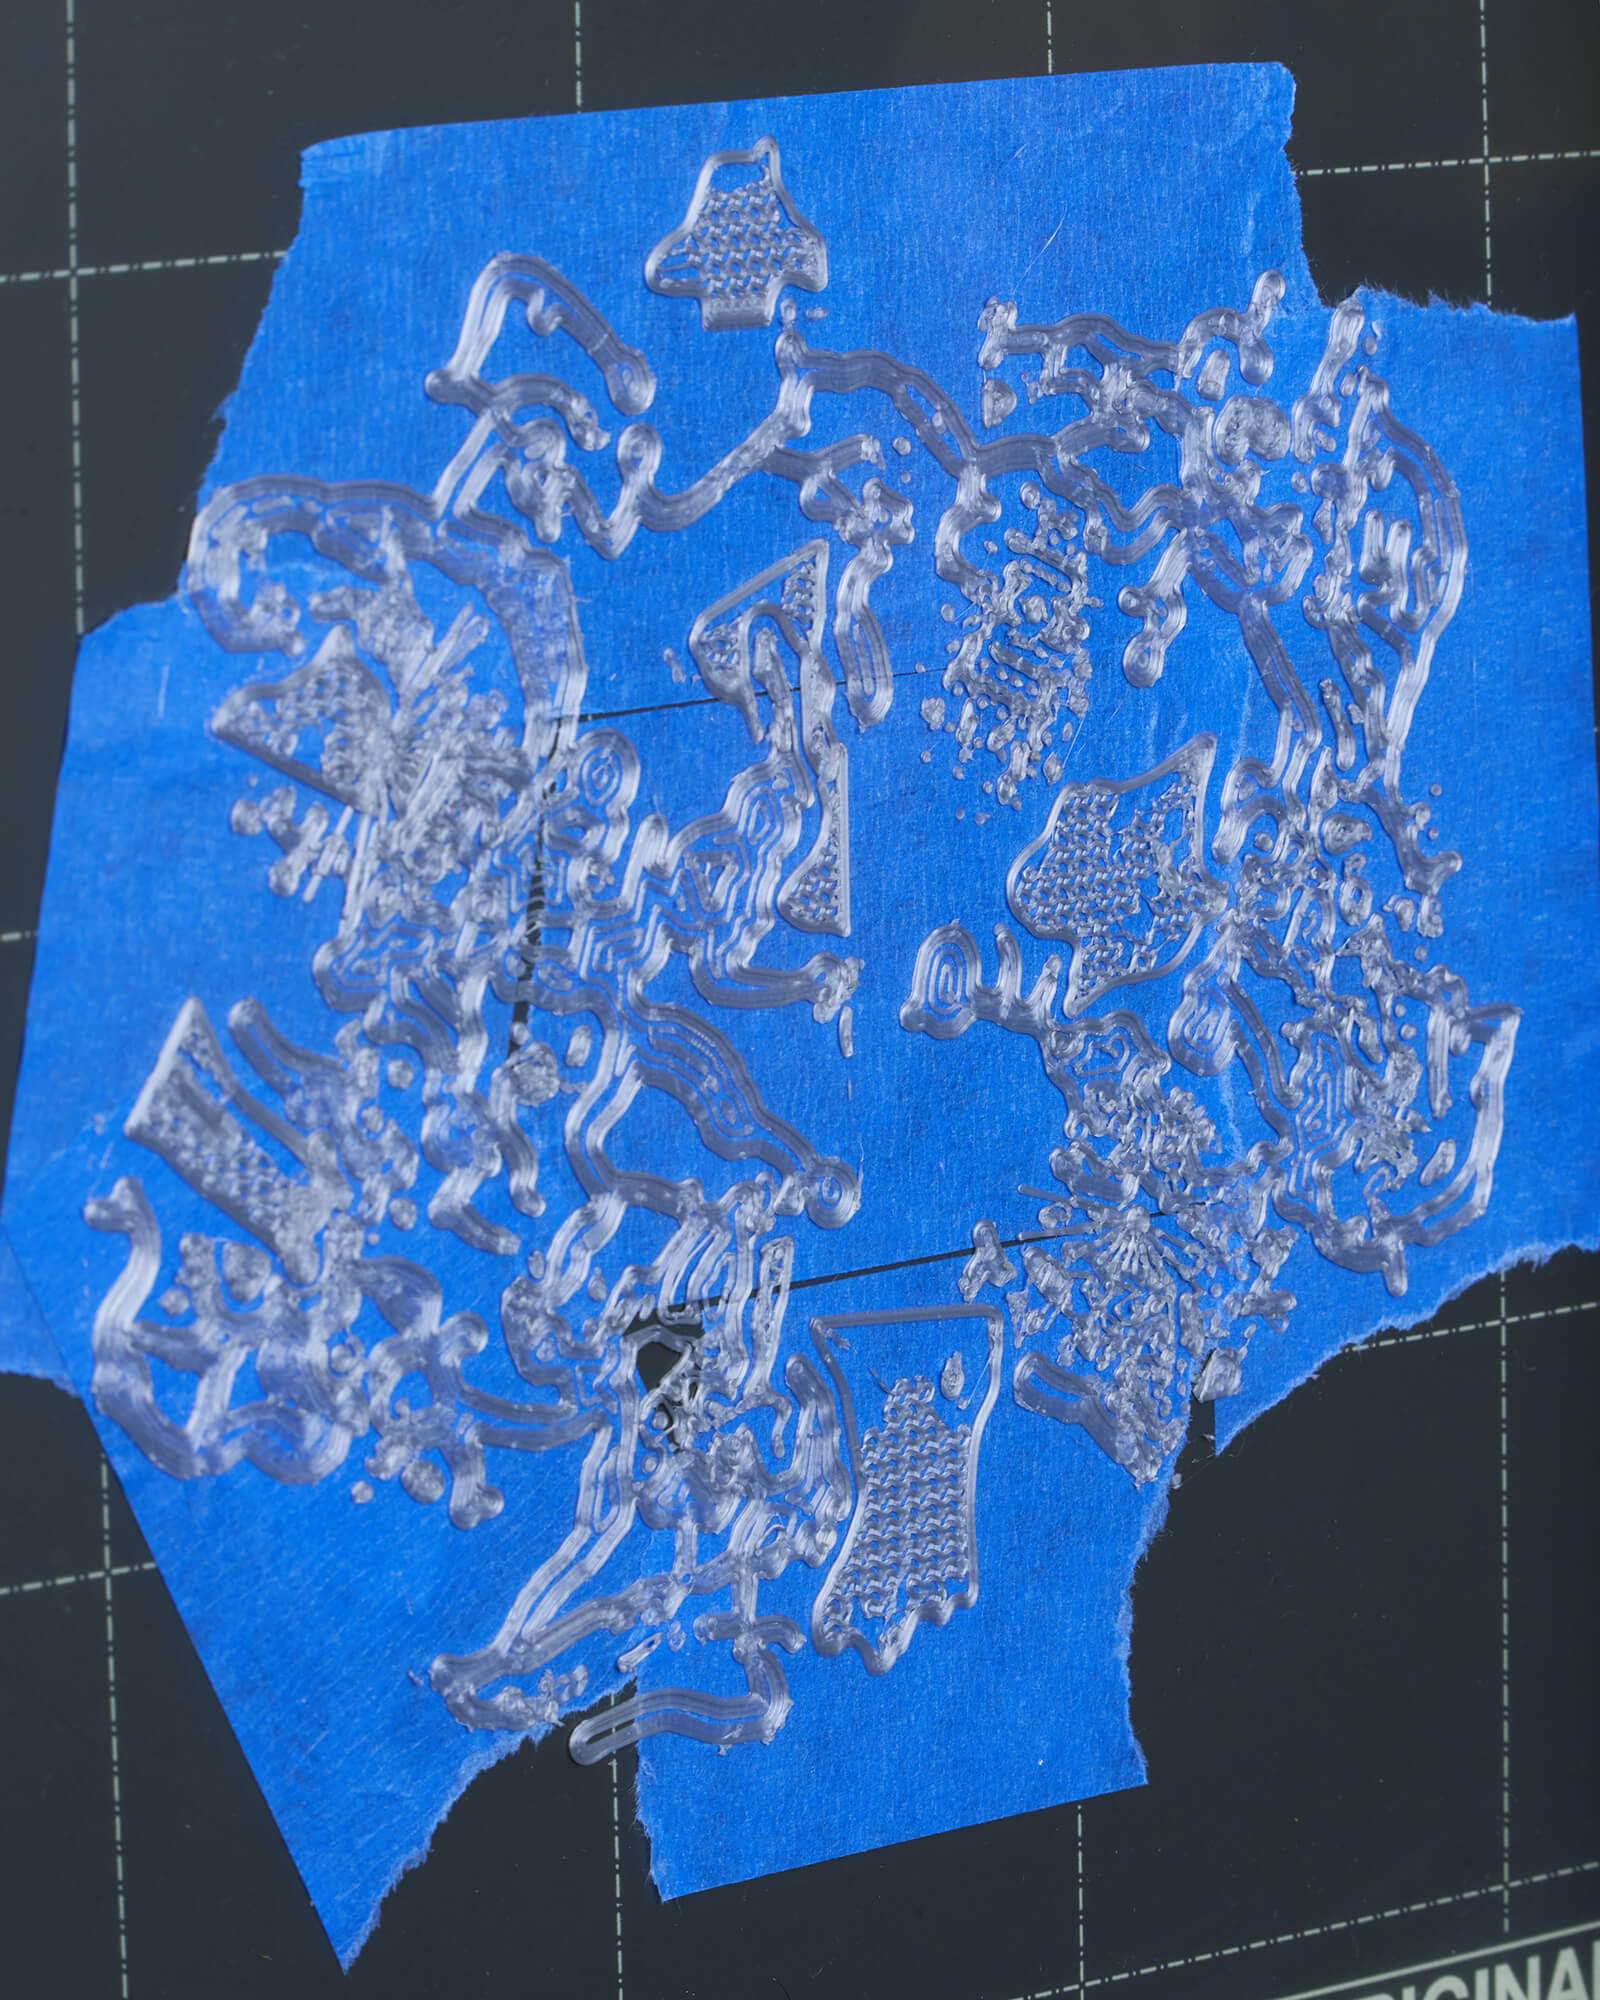
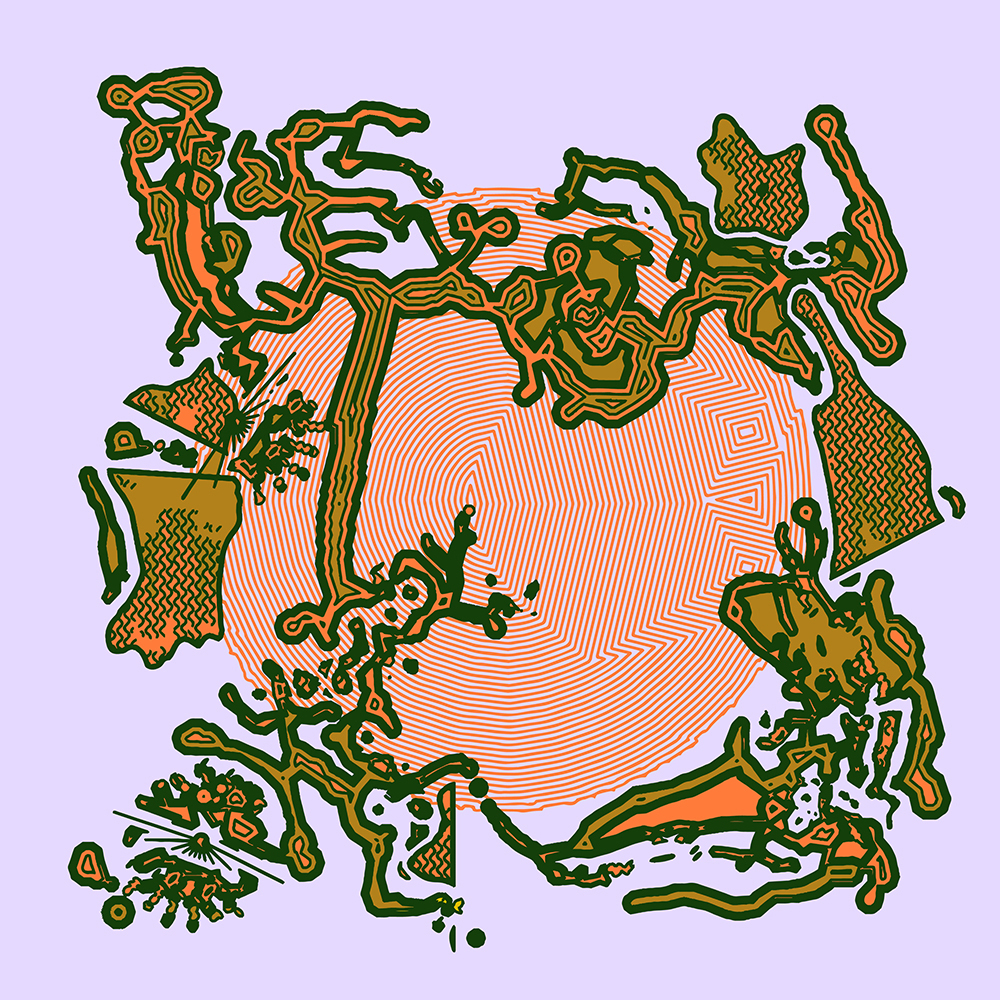
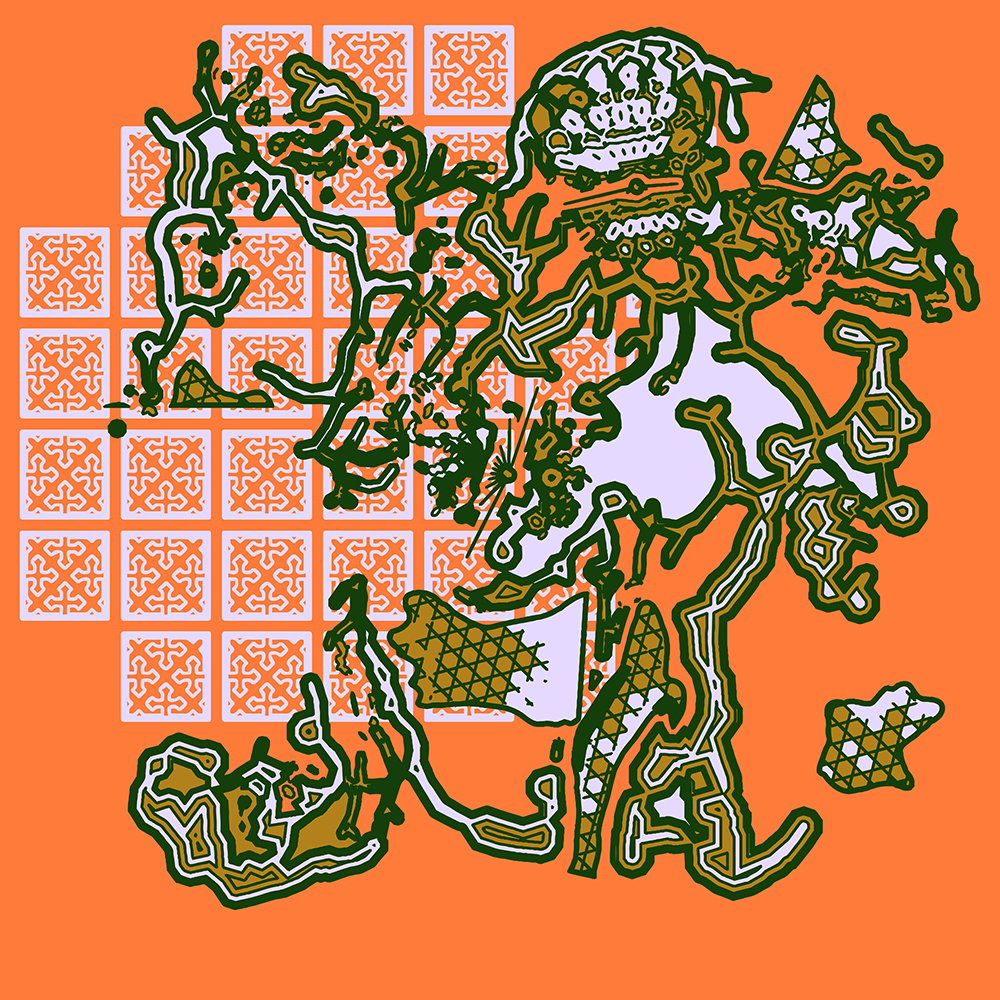
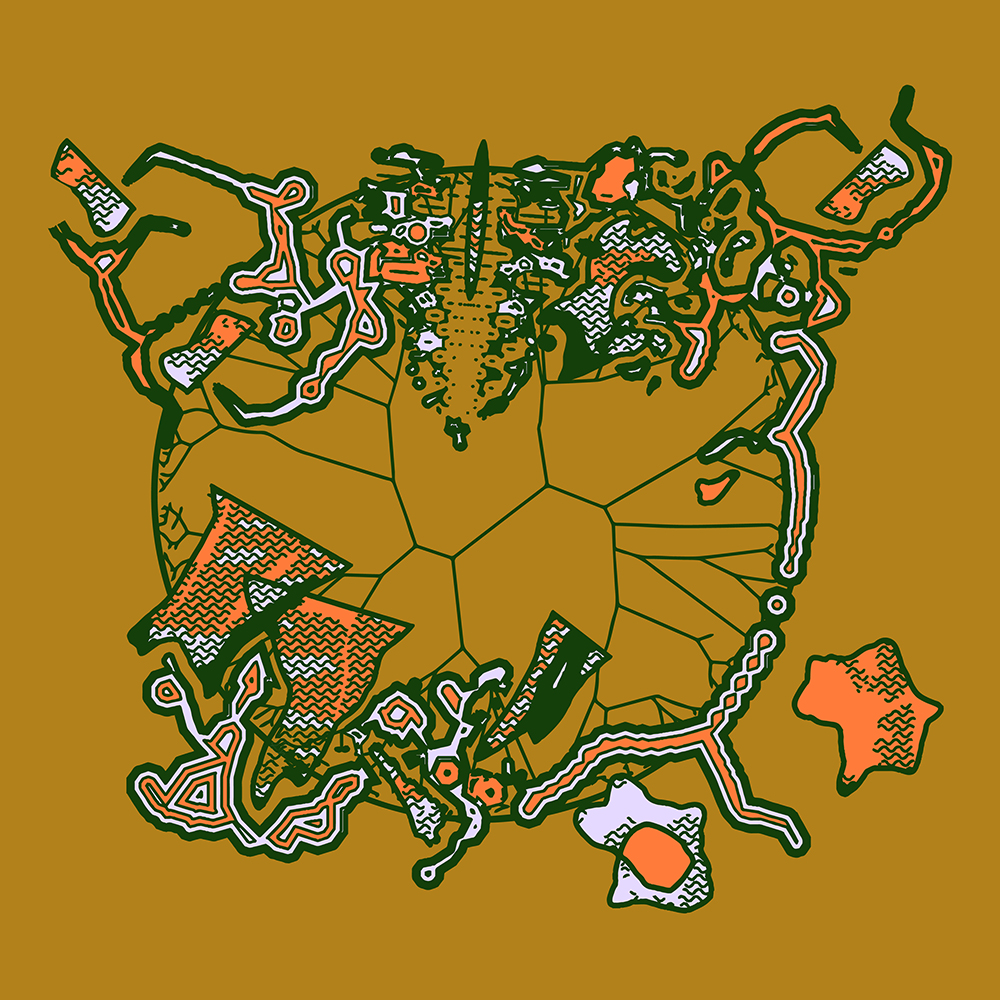
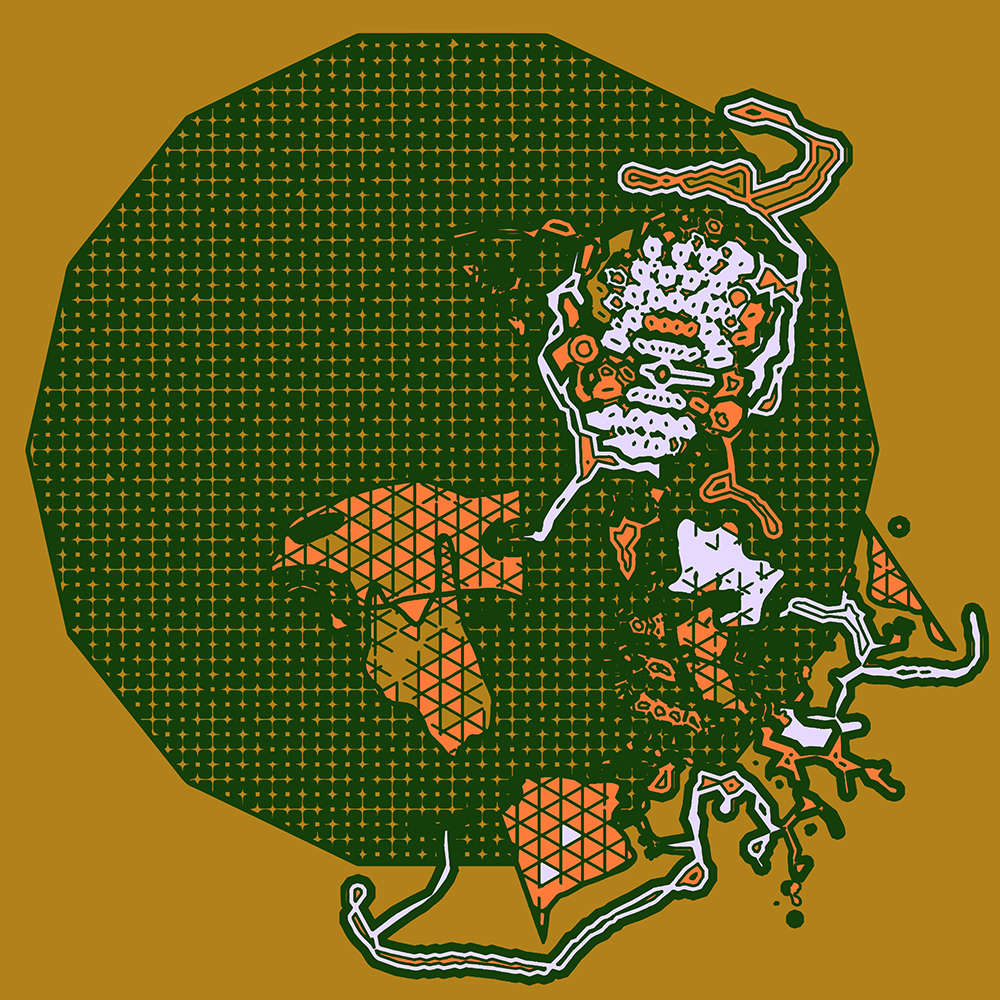
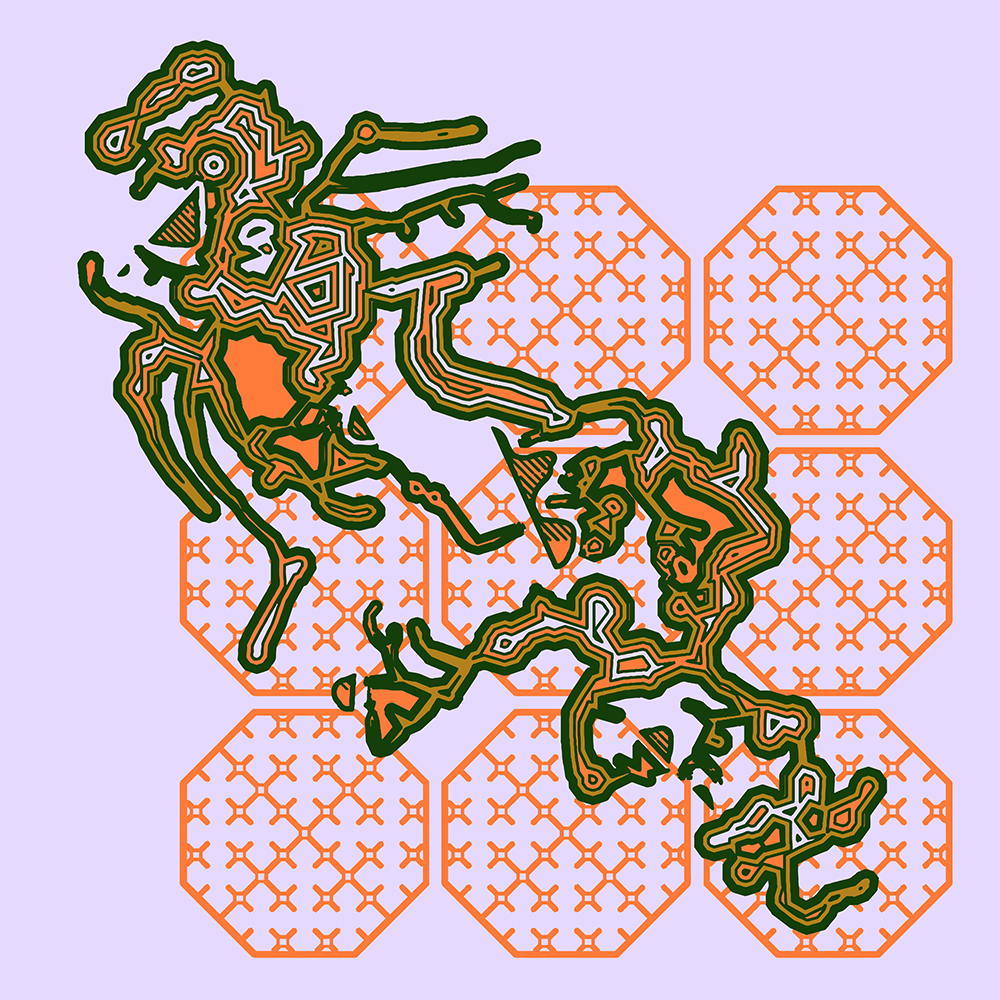
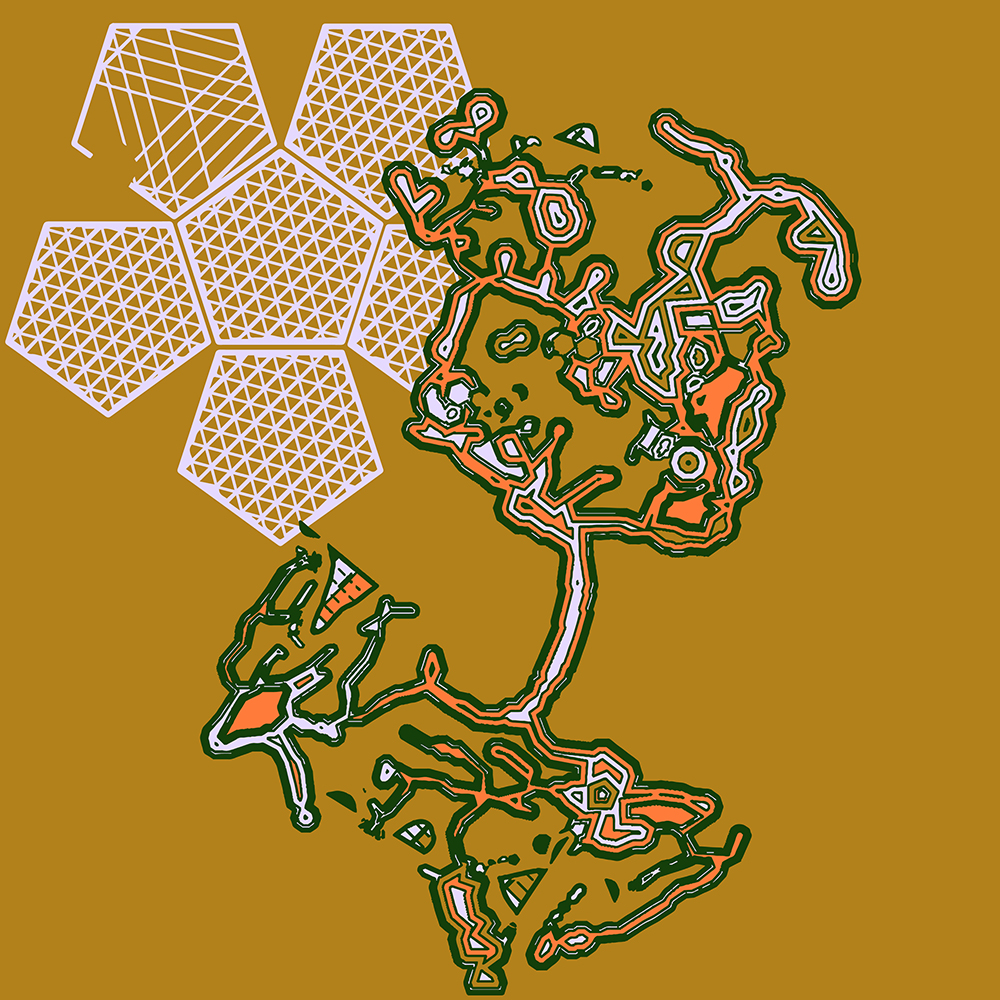
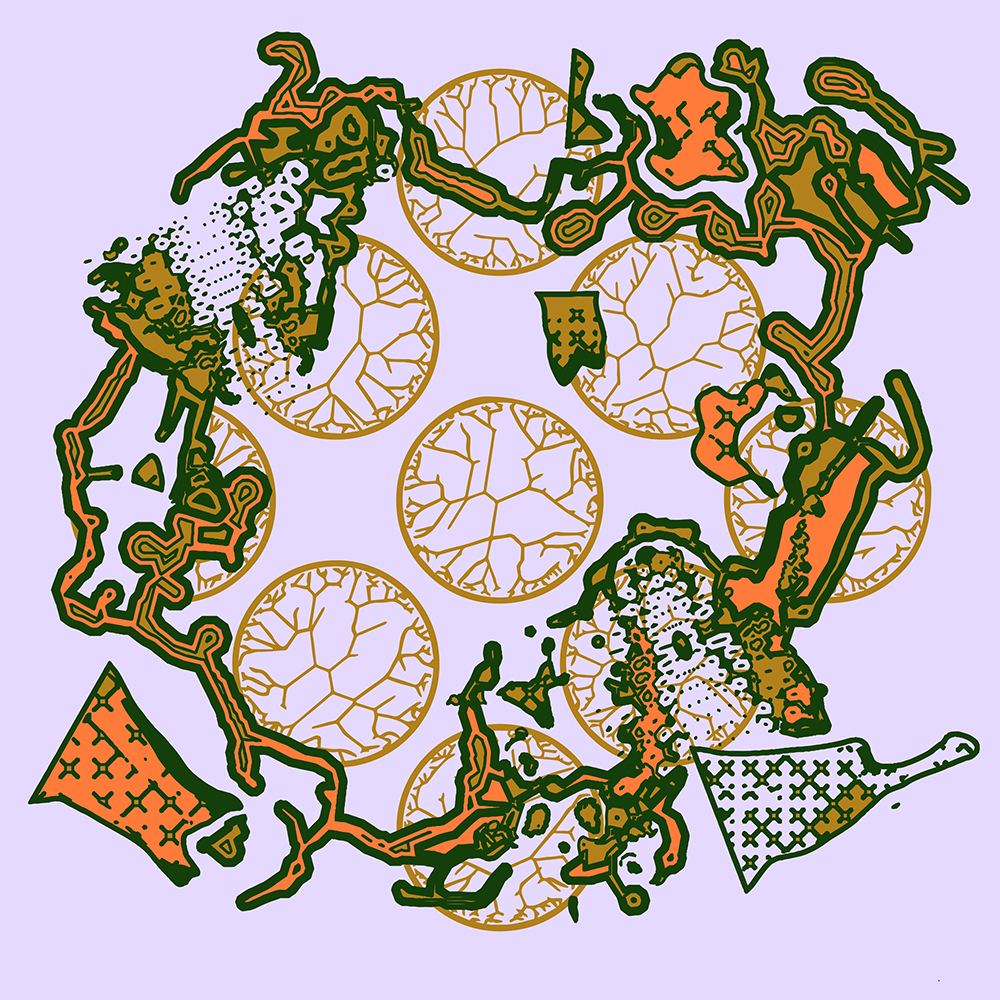
Fig. 2. Various outcomes of tomographic illustrations
The preparatory step of the 3D printing process can also yield interesting visual possibilities (Fig. 2). Slicing becomes a distinct process for deriving two-dimensional graphics not by marking a surface directly, but by working within a higher dimension (a three-dimensional workflow)—mark-making not just on surfaces, but within volumes.